Setting up a firewall is one of the first lines of protection. For your Ubuntu server in an era where data security is crucial. An uncomplicated Firewall (UFW) is an effective and user-friendly. To ensure your system remains protected & up-to-date, it’s essential to keep your Linux kernel current. The solution enables even novices to complete this task. This blog will walk you through the necessary steps to set up a firewall with UFW on Ubuntu. Whether you’re protecting your home computer or arming your server against online threats.
Setting up a firewall is the first step in safeguarding your computer system. Linux has created a variety of flexible utilities, like iptables, to configure and maintain firewalls. Iptables, however, could seem a little scary to people unfamiliar with network security. By choosing a dedicated server in the USA with a domestic server your business operations will run more efficiently and effectively.
That is why we advise beginning with UFW. On top of iptables, UFW (Uncomplicated Firewall) has a user-friendly interface. It offers a straightforward method of firewall configuration. The server in Singapore offers vps within the country to fulfill the requirements of hosting users at low rates.
Establishing UFW
Installation and configuration instructions for the default firewall settings are included in the UFW firewall setup. See how to install and use the utility by following the steps listed below. To secure your system (ubuntu) you can enable/disable the UFW Firewall on Ubuntu with different commands.
Step 1: Ubuntu UFW installation
Both Ubuntu 20.04 and Ubuntu 22.04 already have UFW installed. Run the next command to install UFW if you don’t already have it:
sudo apt install ufw
Hold off until the installation is finished.
Step 2: Establish IPv6 Support in UFW
Modify the UFW configuration file to support IPv4 and IPv6 if the system uses both versions.
1. Launch Nano or another text editor and open the default settings file:
sudo nano /etc/default/ufw
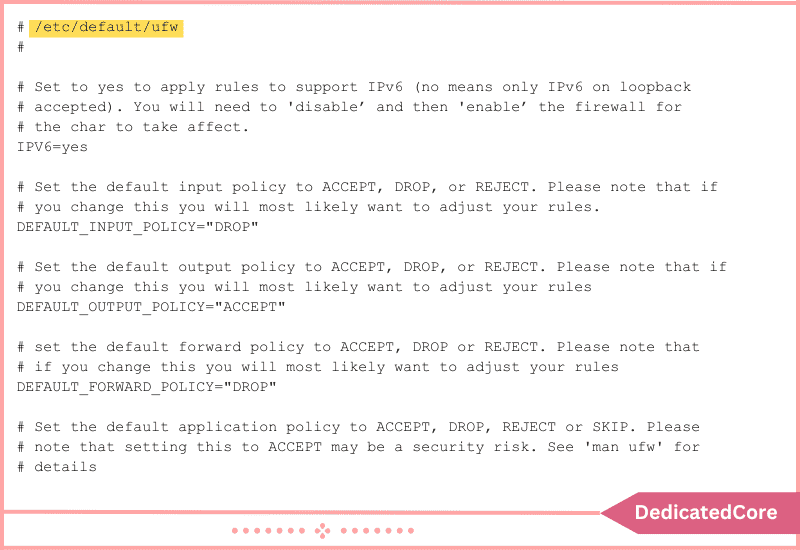
2. To enable IPv6 use, alter the value of the IPv6 field from no to yes.
3. Save the file and then exit.
Step 3: Configure the Default UFW Policy
All incoming connections are blocked by the default UFW setup, which allows all outbound connections. Personal computers, which do not have to reply to incoming requests, typically follow these two guidelines.
Run the following command to reject inbound connections if you changed the default settings and now want to go back to the original behavior:
sudo ufw default deny incoming
Run to enable outgoing connections.
sudo ufw default allow outgoing
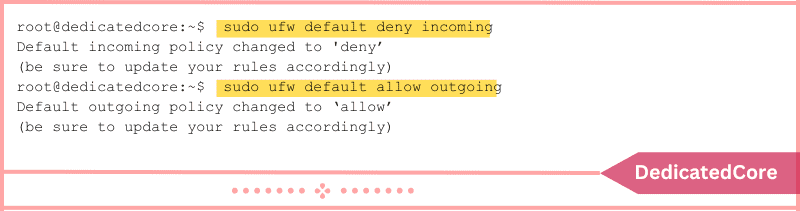
The two instructions reset UFW’s status to its factory defaults.
Step 4: Authenticate SSH Connections
You must configure UFW to permit inbound SSH connections if you intend to access your server from distant regions.
Use the following command to configure UFW to accept SSH connections:
sudo ufw allow ssh
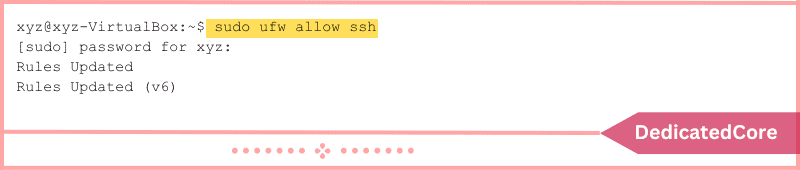
The command adds a rule to allow incoming and outgoing traffic from SSH connections for IPv4 (and IPv6 if enabled).
Step 5: Activate UFW
Disable and re-enable the UFW firewall after changing the settings for the changes to take effect. To disable UFW, enter:
sudo ufw disable
With the following command, the firewall can be enabled once more:
sudo ufw enable
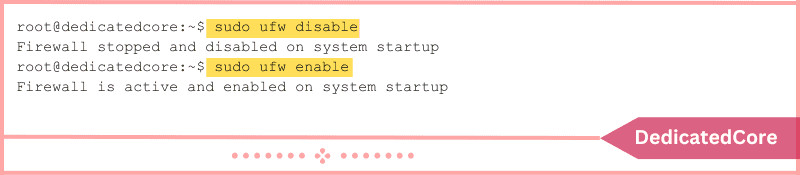
Following each command, the firewall status is output. The firewall is now turned on and operational at startup.
Step 6: Verify UFW Status
Run the following command to view comprehensive details and check the UFW status:
sudo ufw status verbose
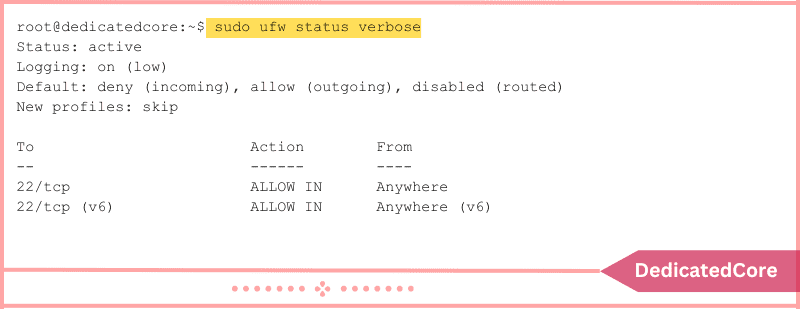
The status, default settings, and open ports are displayed in the output.
Utilizing UFW Rules
A rule-based firewall is UFW. The level of communication between the server and other machines is determined by the regulations. To have even more control over firewall settings. Specify which connections are allowed and which are not.
Open Other Ports for Incoming Connections
Allowing particular inbound connections will give you more control over the firewall depending on the function of the server. To include the links in the firewall settings, create UWF rules. A list of commands for typical installations can be seen below.
1. To configure your server to accept HTTP requests, run:
sudo ufw allow http
Alternately, for HTTP connections, use port 80:
sudo ufw allow 80
The UFW status reveals the rule:
sudo ufw status verbose
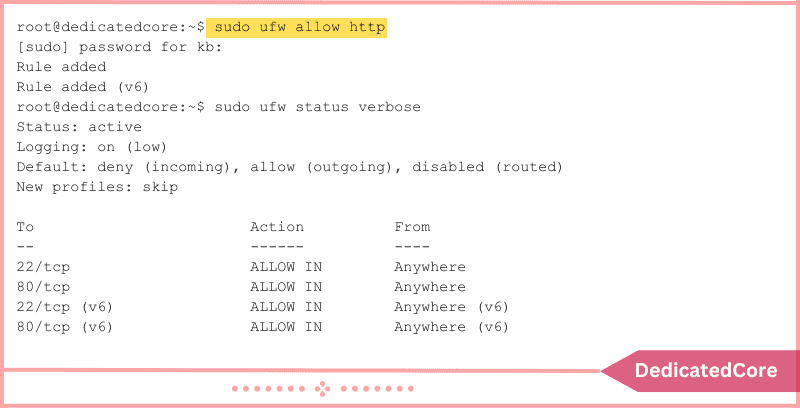
The program creates IPv4 and IPv6 rules and permits traffic on HTTP port 80.
2. Use the following command to allow HTTPS connections:
sudo ufw allow https
Alternatively, for HTTPS connections, use port number 443:
sudo ufw allow 443
Make sure the new rule is visible by checking the UFW status:
sudo ufw allow 443
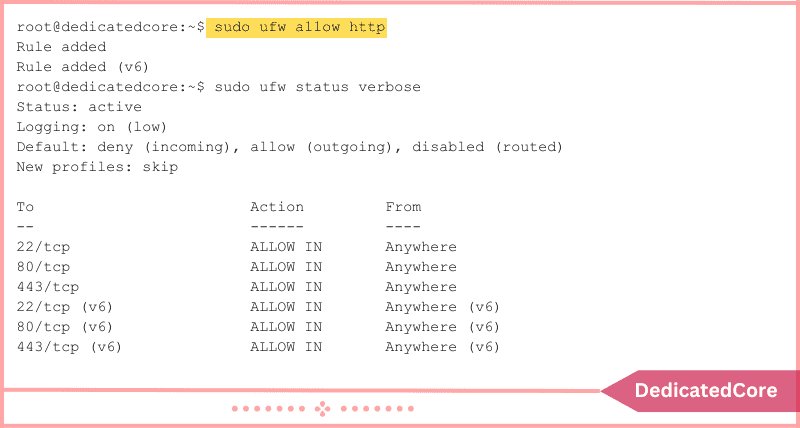
IPv4 and IPv6 can see the enabled HTTPS connections on port 443.
3. To create a rule that permits access from a certain IP address to all ports, execute:
sudo ufw allow from <IP address>
By using this technique, you can create a rule that accepts any communication going either from a remote server to a local system or from a local machine to a distant server.
4. Execute the following command to permit access from a certain machine to a particular port:
sudo ufw allow from <IP address> to any port <port number>
The restriction only allows access to the designated port.
5. Specify the range values and the protocol type (TCP or UDP) to allow access to a range of ports. The following command, for instance, permits connections from ports 2000 to 2004.
sudo ufw allow 2000:2004/tcp
Modify the protocol such that UDP connections are accepted on ports 2000 through 2004 by adding the following:
sudo ufw allow 2000:2004/udp
Refuse Incoming Connections on Other Ports
Run the following command to create a deny rule that will prevent connections from a certain IP address:
sudo ufw deny from <IP address>
Alternately, you can block access to specific ports by typing:
sudo ufw deny from <IP address> to any port <number>
Use the two instructions to secure a particular port or prevent communication from dubious IP addresses.
Here get to know about Deleting UFW Rules
The UFW firewall is adaptable and permits rule deletion. A rule can be eliminated in one of two ways.
1. Show a list of all the rules and locate the rule’s given number. Start by presenting the rules as a list of numbers:
sudo ufw status numbered
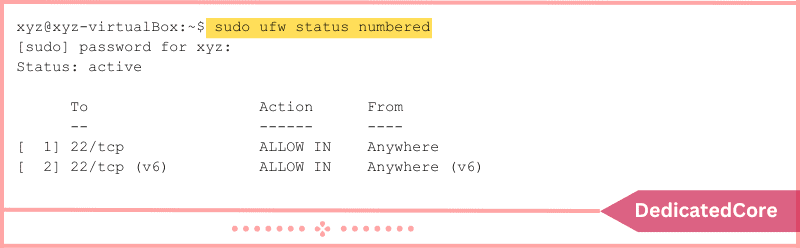
The final product includes a list of the added rules. Each rule has a number based on the sequence in which they are applied. The syntax to delete a rule is as follows, along with the relevant rule number:
sudo ufw delete <rule number>
The numbers adjust as a result of the command’s removal of the rule from the list.
2. Specifying a rule word for word is another approach to eliminate it:
sudo ufw delete <rule>
For instance, execute the following command to remove a rule that permits connections to port 2000:
sudo ufw delete allow 2000
The rule is taken off the list using the command.
Aspects of Applications
The directory /etc/ufw/applications.d contains application profiles for each package that was installed with the apt command. The profile offers details on the program and its UFW settings.
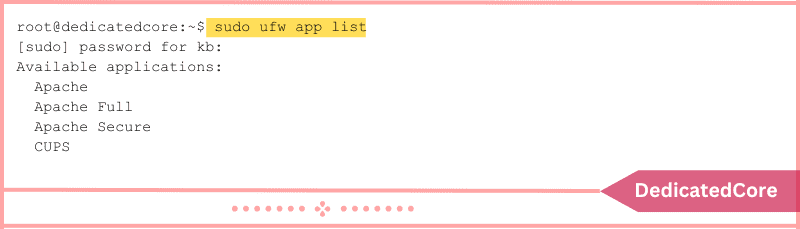
Use the command: to view a list of all application profiles.
sudo ufw app list
Run the following command to view more details about a particular package (along with open ports):
sudo ufw app info '<package name>'
Run these commands, for instance, to display the Apache application profile:
sudo ufw app info 'Apache Full'
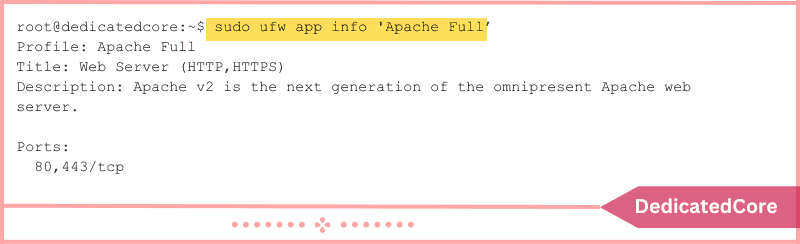
The result displays the profile details, a succinct description of the application, and the ports the app utilizes.
Final Words on Installing and configuring UFW Firewall on Ubuntu
In today’s connected world, protecting your Ubuntu system with a firewall is not a luxury, it is a need. Fortunately, UFW makes this procedure simple. enabling you to set up effective protections with little effort. You’ve made a huge step toward protecting your system from unwanted access. Potential cyber threats by following the instructions provided in this article. To ensure your system remains protected and up-to-date, it’s essential to keep your Linux kernel current.
Remember that an efficient firewall is a crucial component of your digital fortress. UFW gives you the tools you need to safeguard your data and keep your mind at ease. Maintain your security and vigilance, and safeguard your Ubuntu system! The steps and guidelines we provided hope have helped you in setting up a firewall with UFW on Ubuntu.
Frequently Asked Questions (FAQ)
1. What is UFW, and why should I use it on Ubuntu?
UFW delivers specific commands to secure your Ubuntu system by managing incoming and outgoing traffic. UFW (Uncomplicated Firewall) is a user-friendly firewall device created to simplify working iptables that comes by default in Ubuntu.
2. How do I check if UFW is Installed on my Ubuntu System?
To verify if UFW is installed run the below command:
ufw status
You will need to install UFW if it returns “command not found”.